Please enter following information in the configuration dialog to set up the XTCloudserver for the first time:
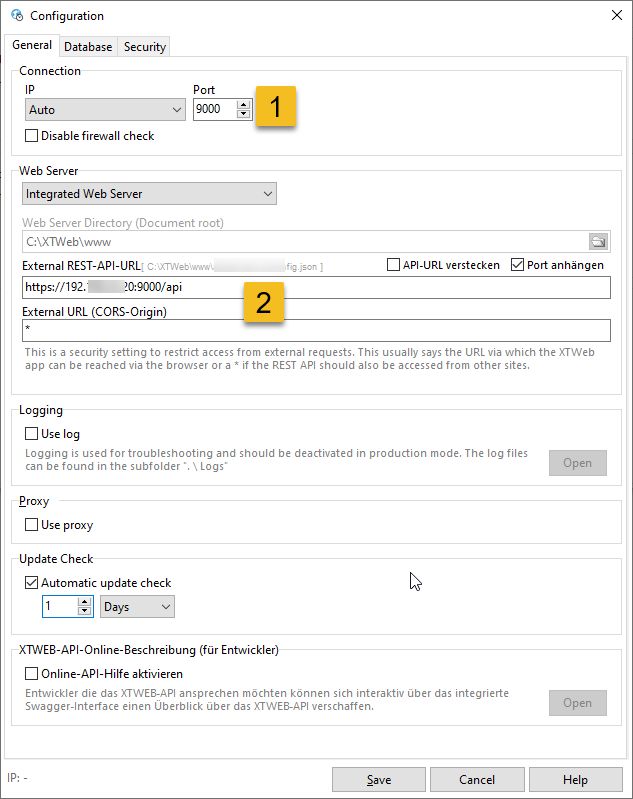
Point 1: The connection data of the server on which this XTCloudserver is running. If you have installed several network cards, all of them will be connected with the "Auto" setting. If you only want to connect a single network address, you can set this in the selection field. The port (default: 9000) can be freely assigned by you, as long as it is not used elsewhere in the system. In order to be able to reach XTCloudserver from the Internet, the port on your router must be forwarded to the IP address of the server on which the XTCloudserver is running.
Point 2: The easiest way is to use our included, integrated web server. The external REST API URL is the web address via which the REST API (database) can be reached from outside. The XTWeb application obtains its data from this address. This is usually a fixed IP address, URL or DynDNS forwarding, which in turn points to the IP address of the XTCloud server. When used purely on the intranet or via VPN, this can be an internal network address. (See screenshot).
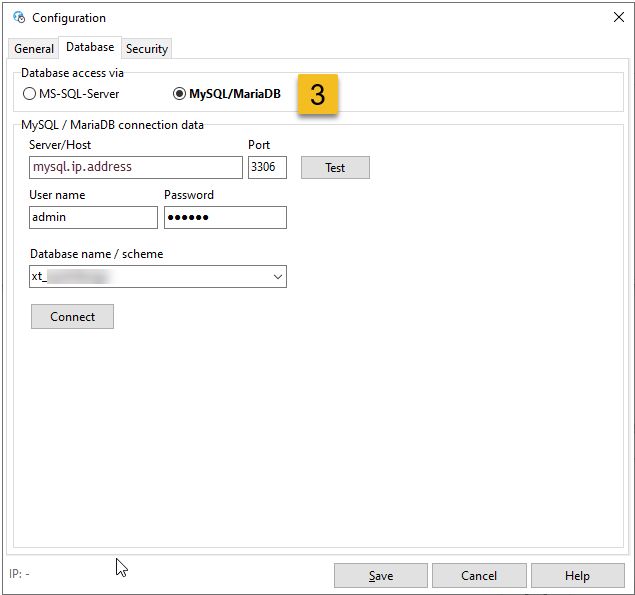
Point 3: In the "Database" tab, establish the connection to your central Xpert-Timer database. The database must have at least patch level 89. (i.e. version 7 of the Xpert-Timer).
The settings in the "Security" tab, e.g. for SSL, can also be made later at any time if required.
Please note: In live operation, SSL encryption should be activated in the "Security" tab so that the data is transmitted in encrypted form! |
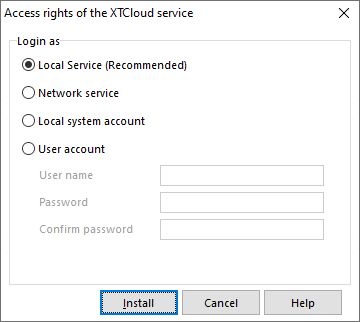
Once you have made these three essential settings, the initial configuration is complete. Now save the settings and click the "Install" button in the main window.
In the following selection dialog, select the setting "Local Service" and press "Install" again. Confirm the question about the automatic start with "Yes".
After a few seconds, the background service is started and the XTCloudserver is now available under the IP/URL you set. Now enter this IP/URL (including the port) in a browser (e.g. http://192.168.15.xx:9000) and check that the web application is working correctly. (please enter the correct IP instead of the "xx")
The following dialog should open if the XTCloudserver is configured correctly.
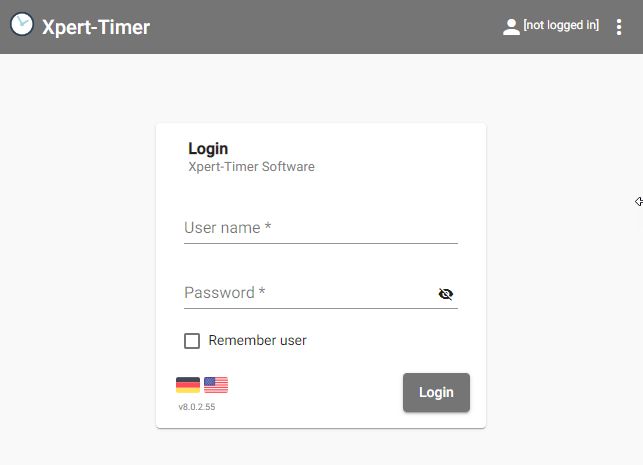
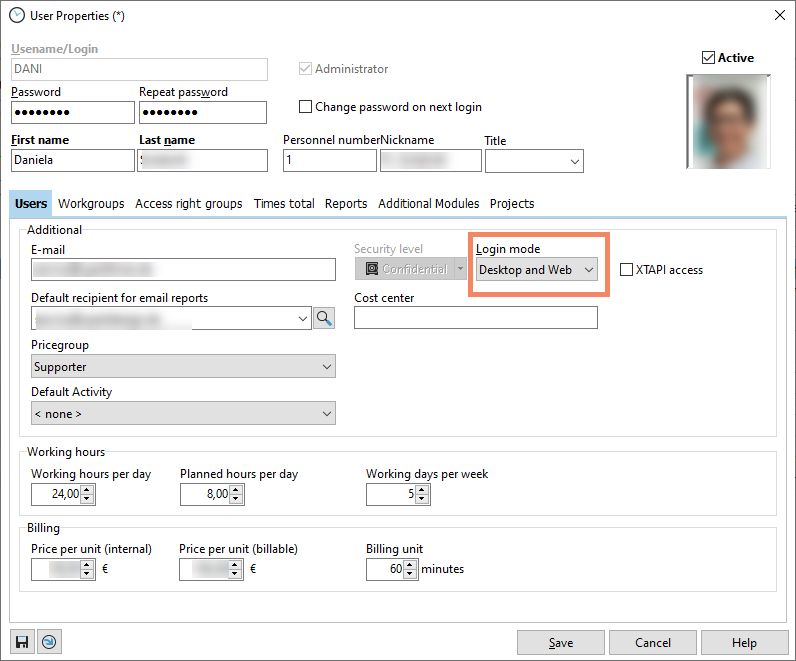
Log in here with an existing Xpert-Timer user (the password is mandatory). This user must first have been assigned the "Only Web" or "Desktop and Web" login mode in the main application "Xpert-Timer Pro for Windows".